Thursday, January 31, 2013

Giveaway

Caviar Manicure Kit Giveaway


Today Is The Day! Enter below to win this awesome rainbow colored caviar manicure kit. This giveaway will run until February 10th.
The winner will be announced and notified by email within 48 hours of end date and will have 24 hours to respond or a new winner will be chosen.


a Rafflecopter giveaway


Tell a friend, and good luck!

You must be a US citizen to enter.


Wednesday, January 30, 2013

The Art Of Beauty Giveaway

I'm Back!

I am finally back from my long and very needed time away from blogging. I had my awesome baby boy and have been trying to get back into the swing of things. I figured what would be better than a GIVEAWAY! I am going to be hosting my first giveaway to celebrate the new year and my new addition.
Starting tomorrow you can enter the giveaway that runs until the 10th of February. Hope everyone has been having a wonderful new year and I will see you back here tomorrow.....don't forget.


Monday, November 26, 2012

Sorry Guys


Hey everyone, I just wanted to let you know that I am having my baby next week so that is why I haven't been doing much blogging lately. I am planning on getting some awesome guest posters so watch out for those. Thanks for your support.


Monday, October 22, 2012

Perfect Red Lip


Makeup Monday ~ Seven Steps To A Perfect Red Lip
A bold red lip is always beautiful and for some, a little scary to wear. For most women it is the fear of it looking awful. Here are seven tips to help you feel more comfortable with those bold colors and achieve the perfect red lip.           


1. Start by moisturizing the lips with lip balm or moisturizer.


2. Using a gentle brush, exfoliate the lips to remove any loose dry skin.


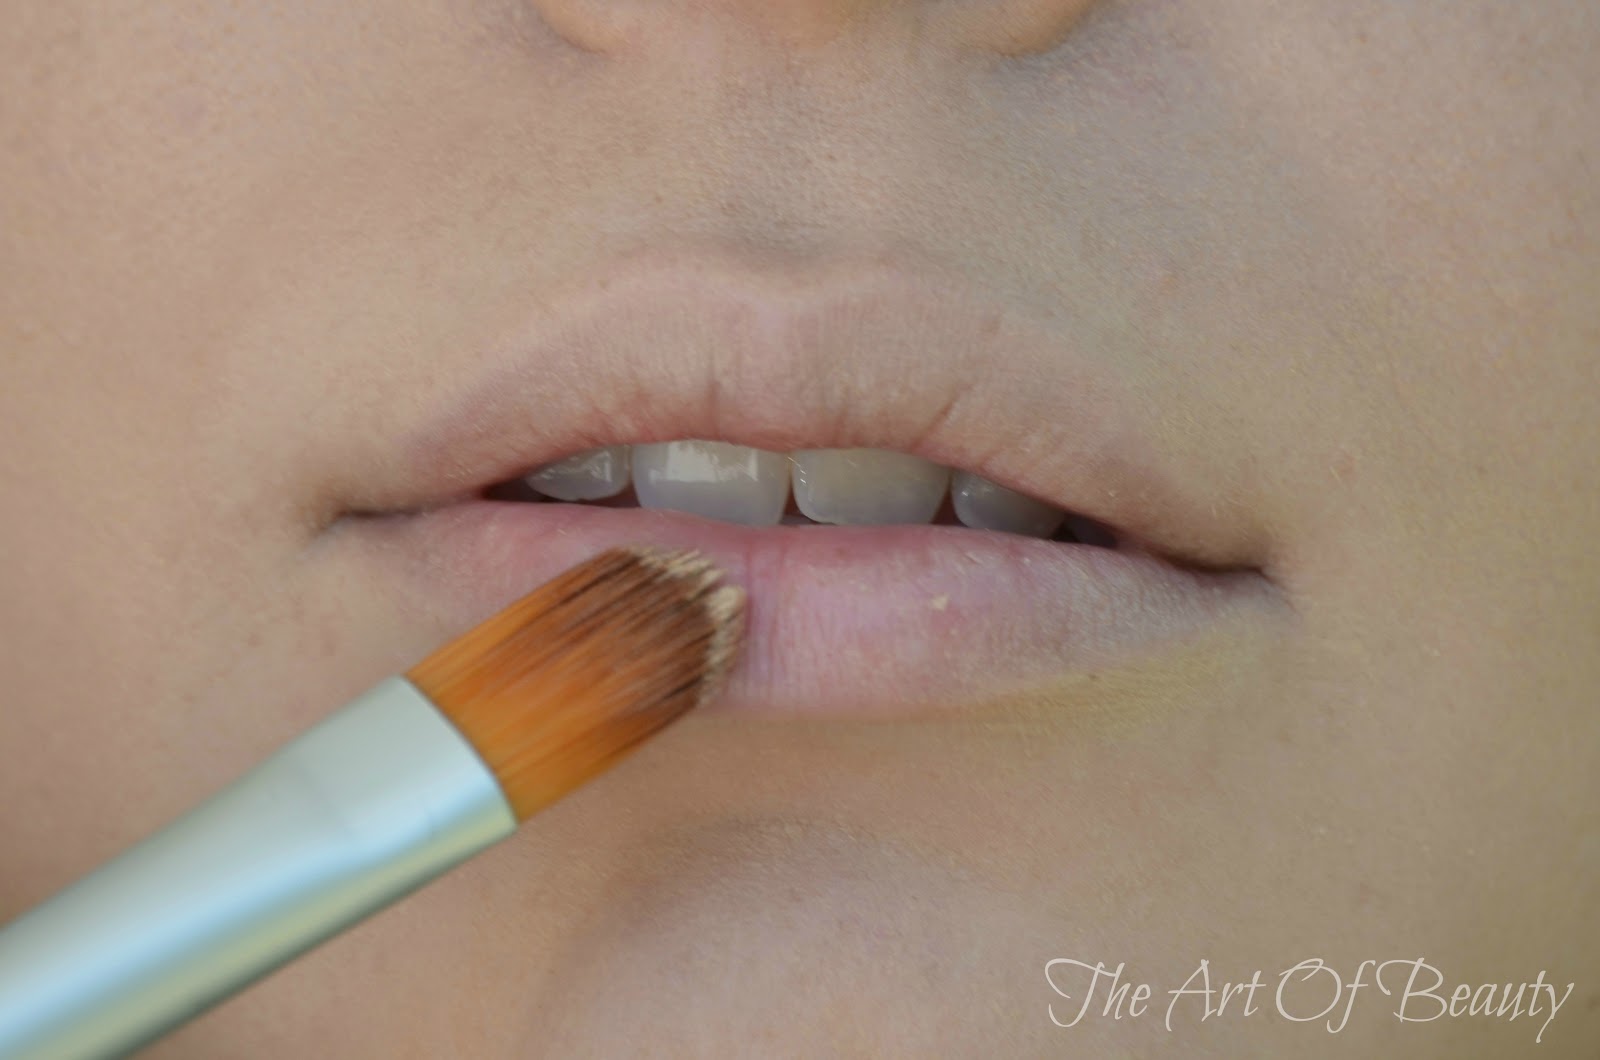
3. Apply concealer or foundation to the lips to help the lipstick color look more bold as well as help you achieve a better line.


4. Line the lips. As long as the outside is what you want the inner lip doesn't need to be perfect.


5. Fill in the lips with the desired color. It is best to use a color that matches the liner.


6. Use concealer or foundation to fix any mistakes or perfect the line of the lips.


7. Add gloss if you want a shiny lip and to help the lips look bigger.


Monday, October 15, 2012

Baby Doll Lip


Makeup Monday ~ Baby Doll Lip Tutorial
I have been having so much fun playing around with different quick makeup ideas for Halloween. My cute sister inlaw has been kind enough to let me use her as a model multiple times. Here is a quick tutorial on how to change the shape of your lips for any kind of event. Have fun!


1. Start with clean moist lip.


2. Apply concealer and foundation to make your lips the same color as your skin.


3. Draw the desired shape with a lip pencil. I wend above and below the natural lip line to help give it a more dramatic pouty look.


4. Fill in the liner with lipstick or gloss to add depth and shine. I love this look in all different colors especially black for Halloween.


Friday, October 12, 2012

Halloween Caviar Nails


Halloween Caviar Nails ~ Candy Corn

Here is a really cute idea for Halloween using the Caviar Nail application. All you have to do is follow the steps given here only use three different color stripes. Do each stripe one at a time to make it easier to apply the beads. I love this look because it makes it look like candy. Have so much fun!


Wednesday, October 10, 2012

Caviar Nail Tutorial


Caviar Nail Tutorial
I love it when new nail trends come out and I get to play with the different colors and ideas. Here is a quick tutorial for caviar nails that are really fun and easy. Keep an eye out for fun holiday ideas with this trend.


To start you will need to pick your color and micro beads. I got a set of six micro beads at Micheal's Craft store for around $7. You can get larger sets or buy them individually as well.


1. Apply a base coat and your first layer of polish letting them both dry completely.


2. To apply the micro beads you will want to work with one nail at a time. Add second coat of polish to first nail.


3. While nail is still very wet sprinkle beads onto nail over a bowl to catch falling beads. Make sure to cover entire nail with beads.


4. Once beads are on the nail press gently to secure the beads to the nail. Follow steps 2, 3, and 4 for each nail.


5. Once you have finished applying beads to each nail clean up the edges to get rid of any extra beads.


6. Make sure to let each nail dry completely before applying the top coat. Once they are dry apply a layer of top coat making sure to cover entire nail.


7. Let them dry and have fun! I love these nails because the possibilities are endless.